Professional Installations
Reliable Outdoor Lighting Installations You Can Trust
Don’t Compromise Your Lighting Investment With A Shoddy Installation.
Not all lighting installations are the same. Over the years, we have seen more than our fair share of nightmare installations. You know, the kinds of things that make you shake your head and say, “What was that guy thinking???” We have all been there at one time or another.
Often calls for repair come from frustrated homeowners who invested a pretty penny into a lighting system that never really worked the way it was supposed to, does that sound familiar? At California Outdoor Lighting we go above and beyond to make sure our installations are built to stand the test of time. Our 3 Step Professional Installation Process guarantees that nothing is overlooked, and the end result is a beautiful and extremely functional lighting system.
Step 1 – Preliminary Installation
ur installation staff will be using the original design plan to ensure that every detail has been met, exactly as it was intended.
Upon arrival, our team is divided into two major tasks :
- Transformer Mounting and Installation
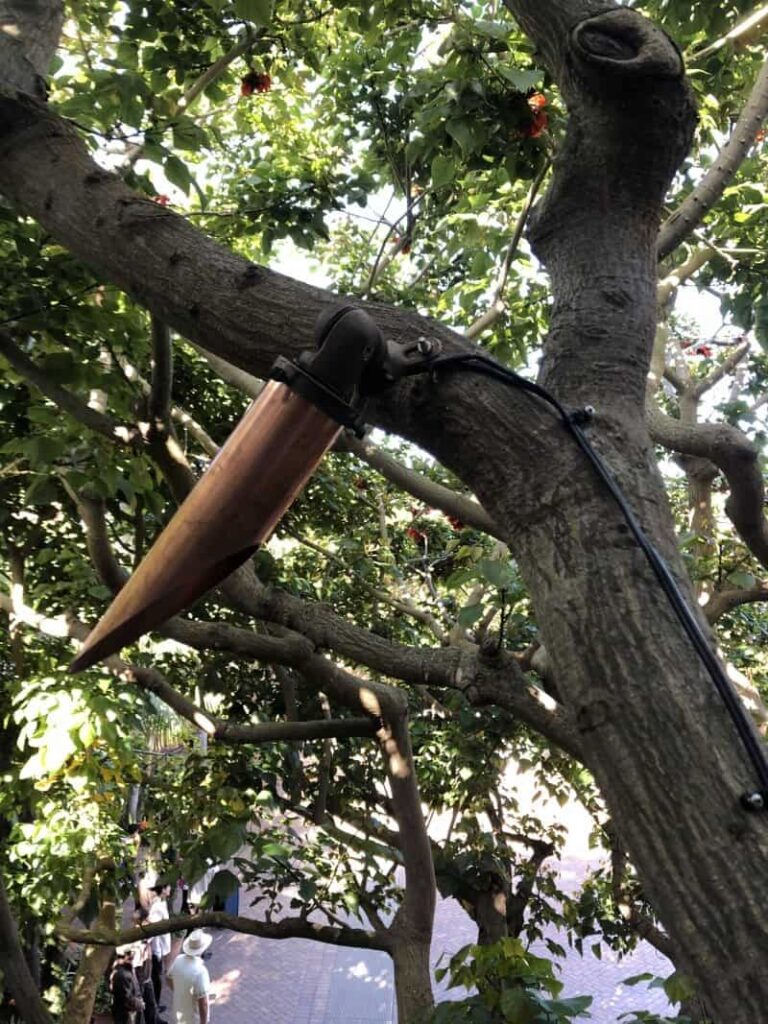
- Fixture Placement and Lamping
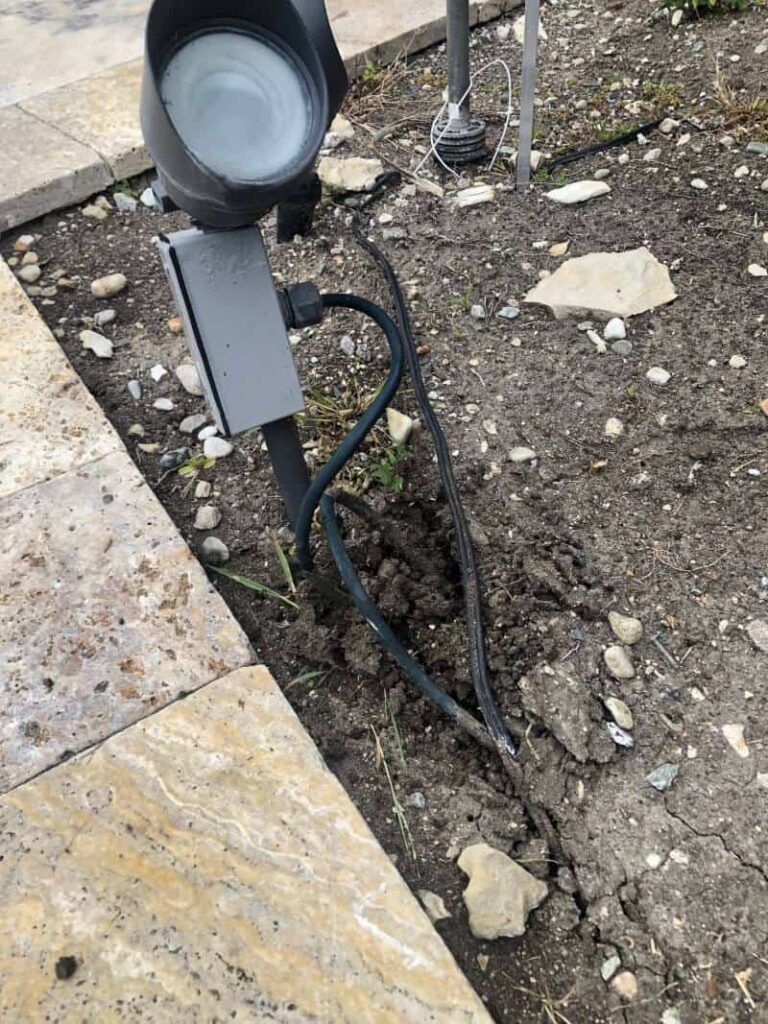
Once all transformers have been mounted and fixtures have been set and lamped, our team will begin running direct burial cable above ground, and preparing each individual connection.
Waterproof Connections
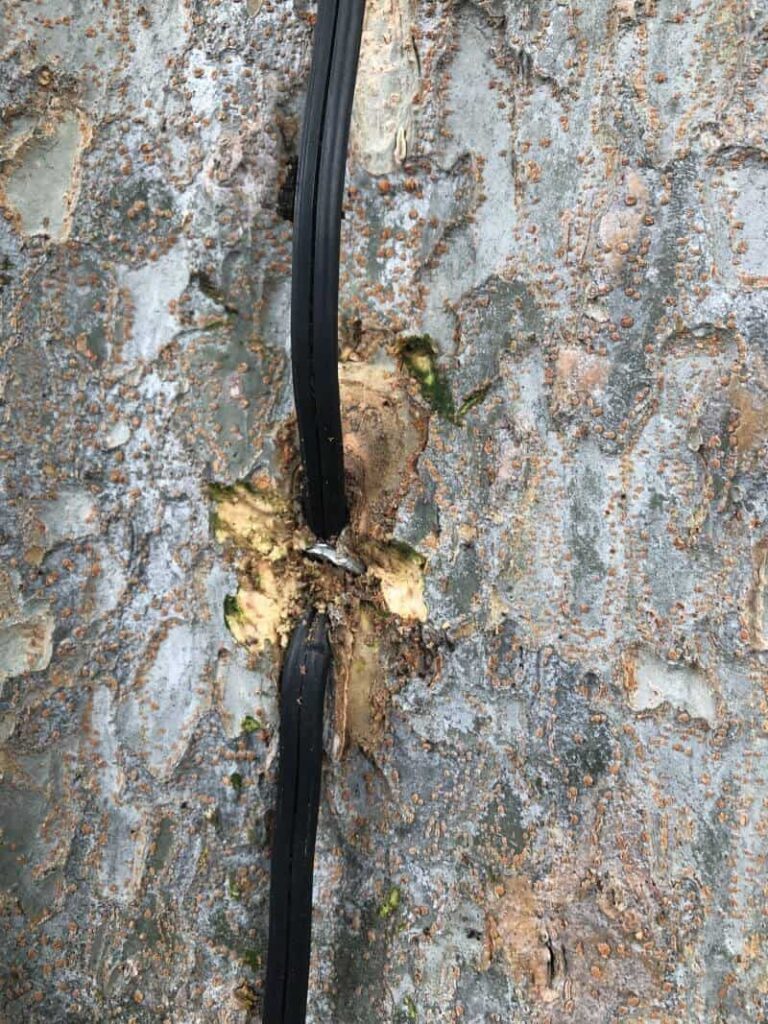
Direct burial cables are the veins of your lighting system. They need to be healthy to operate optimally so why do so many companies use connections that will fail?
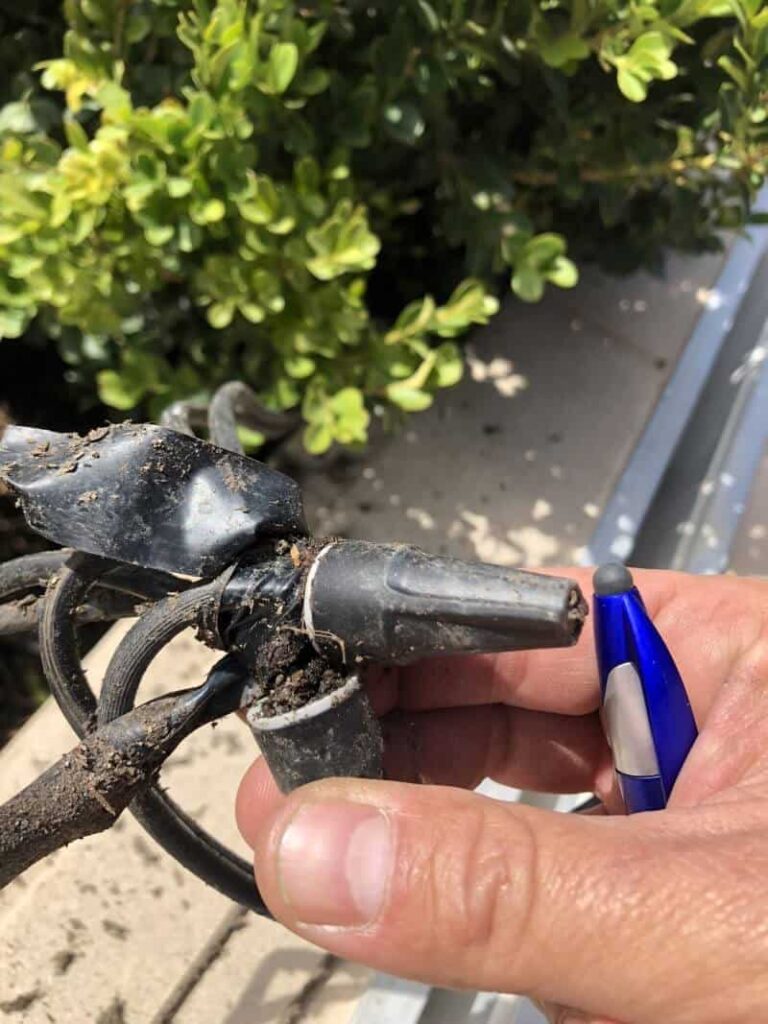
Splices where individual connections meet are the weakest point of your entire system and are where most failures occur.
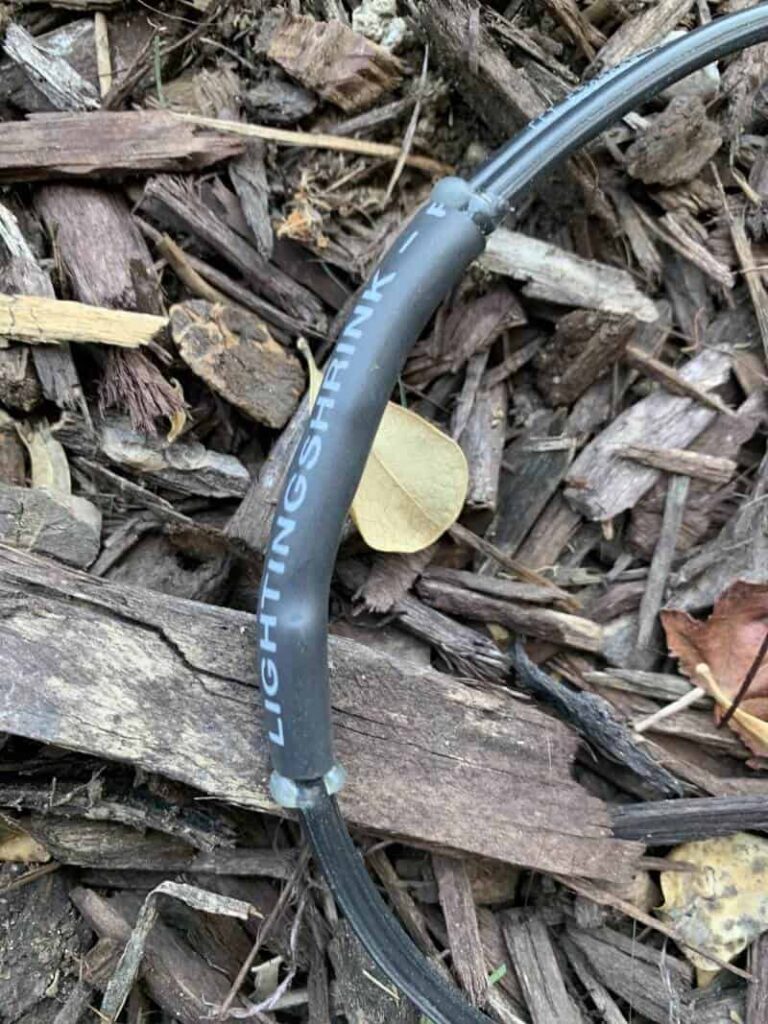
Water-tight connections completely protect the splice and virtually eliminate any corrosion of the copper. Wire nuts and pierce point connectors allow water to enter and degrade the copper. This will eventually lead to major failures and the need for wire replacement. Our connections, like everything else we provide are built to last. We will preserve the integrity of your system.
Our installation staff is also trained to think of the future of your lighting system. At each splice, an additional 1 – 3 feet of wire is added. As years pass and landscapes mature, this extra wire will make repositioning fixtures to highlight those changes much easier.
Once each fixture is wired, our staff will run a test to make sure everything is working properly, now for step 2.
Why Our Clients Love Us
Our Clients are at the heart of everything we do. Driving our passion to illuminate spaces in ways that perfectly reflect their vision and needs.
EXCELLENTTrustindex verifies that the original source of the review is Google. California Outdoor Lighting did a great job with our project, and were especially flexible with us as we had a major construction project that required a couple of visits to the site to make incremental progress on the lighting. The end result is great, and we're very happy with the quality of the products and installation.Trustindex verifies that the original source of the review is Google. Anthony is a dedicated artist and runs a great business. We couldn't be happier with his attention to detail and the results and highly recommend the company.Trustindex verifies that the original source of the review is Google. Anthony is a lighting artist! He had wonderful ideas for our house and gave my husband and me a fascinating education on all things lighting. When we made our decision about what we wanted we felt fully informed and confident in what we chose. Anthony and his team delivered exactly what they said they would, on time and right on budget. The house now looks absolutely dreamy at night. We love it! Anthony even stopped by the evening before my daughter's backyard wedding, just to make sure everything was looking good! We could not be more pleased! I can very highly recommend this company!Trustindex verifies that the original source of the review is Google. We had an outstanding experience from start to finish with California Outdoor Lighting. The owner, Anthony, spent extensive time with us going over different options - not only discussing equipment, and not only the relatively simple aspects of landscape lighting, but also discussing the artistic objectives such as what 'feel' would we like to achieve on our property with lighting. Installation was performed as promised. Follow-up activities included in-person review at night, along with associated fine tuning based on what was seen then. We highly recommend California Outdoor Lighting to anyone who is looking for exceptional and unique lighting in their yard.Trustindex verifies that the original source of the review is Google. Although I have not used California outdoor lighting, Anthony is very well-known in the industry and is deeply involved in the making the Landscape Lighting industry a better place for young contractors coming in. He has a level of energy not easily matched, and a true passion for Landscape Lighting. I would highly recommend his skill set to anyone looking for landscape lighting in their personal space.Trustindex verifies that the original source of the review is Google. California Outdoor Lighting exceeded all expectations with our outdoor lighting project. Anthony did an excellent job communicating leading up to the project letting us know when we should expect to the project to start and how long the project would last. Anthony and his technician are very professional and cared for the property as if it were their own. At the end of each day, the job sight was left cleaner than when they arrived. We have dogs and they were conscientious to make sure the gates were always closed as they were coming and going. At the end of the project, the lighting design that Anthony came up with transformed our property! It now looks like a resort! His attention to details is second to none. I would highly recommend Anthony and California Outdoor Lighting.Trustindex verifies that the original source of the review is Google. We could not be more pleased with CA Outdoor Lighting. Not only did they transform our backyard into a nighttime wonderland — highlighting all of our favorite elements, but they were a joy to work with. Anthony is passionate about the science and artistry of lighting and it shows through in his work. They were communicative, on-time, detail-oriented, and focused on giving us what we wanted and more. *And we just hired them to do our front yard.Trustindex verifies that the original source of the review is Google. Anthony at California Outdoor Lighting designed new outdoor lighting for our front and backyard here in Manhattan Beach, replacing 20-30 year old outdoor lights. His excellent crew installed the lights that Anthony recommended. My wife and I could not have been happier with the new lighting nor with the entire process with California Outdoor lighting. We love subtle warm lighting and we wanted to avoid any bright lighting. Our new lighting is really beyond our wildest dreams! Anthony is truly an artist and he gave us input on exterior lights from three companies. He gave the pros and cons of each and what total costs would be with each of them. All in all, I give Anthony and California Outdoor Lighting an A+++.Trustindex verifies that the original source of the review is Google. I called California Outdoor Lighting because of the reviews I read. And let me tell you they are amazing. My job required a lot of small details and I am so pleased. The fixtures they use are so well built and the lights they choose for my specific design were spot on. They called when the job was complete to be sure I was satisfied and asked questions to be sure it was just want I was looking for. When I told Anthony how pleased and how they wanted it to be right for me not just them he said this "I'm a consumer too and its not hard to be honest, its actually the easiest thing in the world". Heartwarming to have contractors like this in the world.Trustindex verifies that the original source of the review is Google. I give my highest possible recommendation to Anthony and the team at California Outdoor Lighting. First class in every way. Our front and back yards have been transformed. My job involved a complex retro fit, and the experts figured out how to weave the lighting seamlessly into the hardscape and landscape. Anthony is honest, hard working, and incredibly knowledgeable... a true expert in the field! --Tom Penn
Step 2 – Night-time Adjustments and Walkthrough
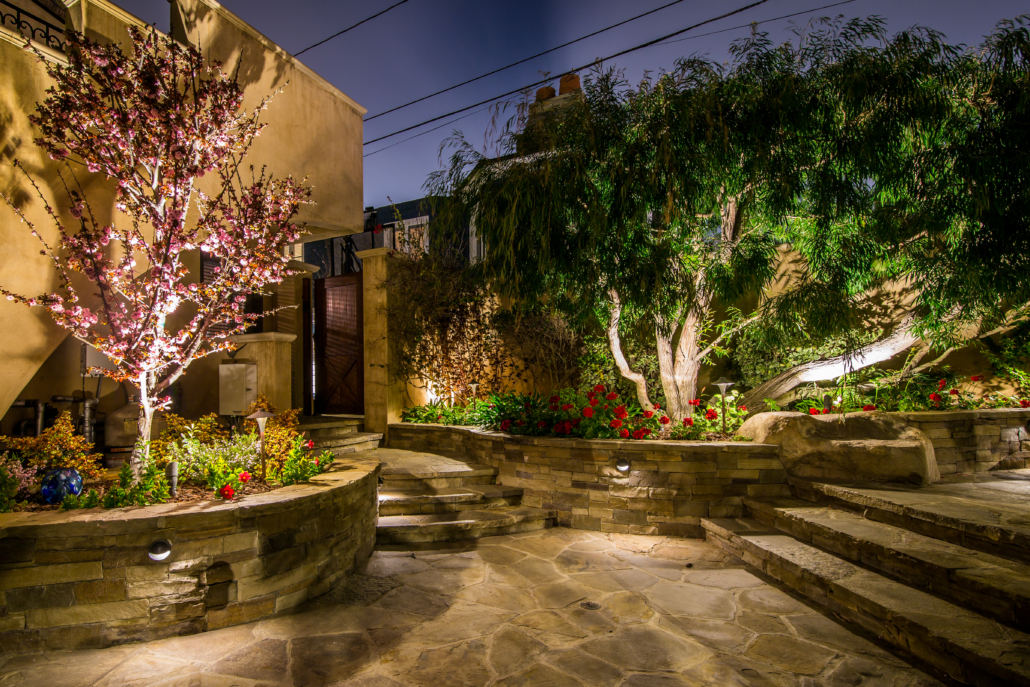
Once all fixtures have been set and activated, the next step is scheduling an evening for night-time adjustments and a walkthrough with you.
This step is crucial, it ensures we did what we were supposed to do, knock it out of the park!!!
Upon arrival that evening, our designer will spend as much time as needed to go through the entire scene, making sure that any needed adjustments are made before calling on you. Once that is done, we would like to walk the property with you. This is the perfect opportunity to discuss each and every aspect of the lighting design.
If additional adjustments are needed, they can be done right then and there and if any additions are requested, they can be added during step 3.
Our goal is to leave that evening, knowing that you will be standing there in awe, long after we have driven away. Then it’s time for step 3.
Low Voltage Commercial Outdoor Lighting Designs
Still using outdated halogen lights? Now is the time to switch to LED Low Voltage Lights and see the difference in your landscape and in your wallet. Call today and book your estimate today!
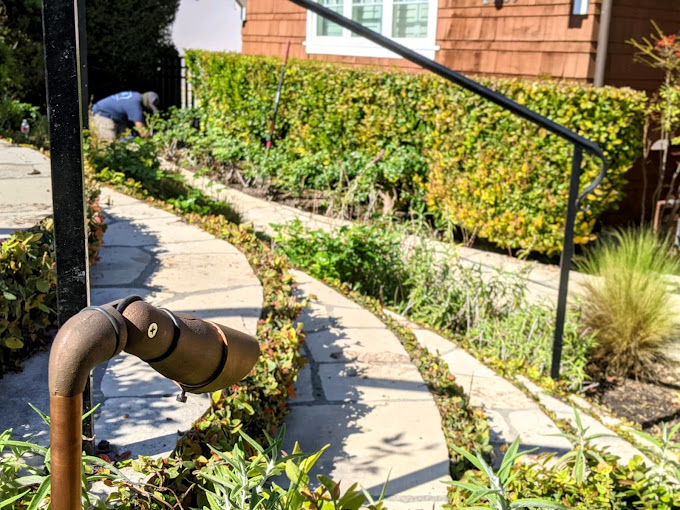
Step 3 – Final Installation and Documentation
Now that you are completely ecstatic, it’s time for us to get things done!
During final installation, we will make any additional that were discussed during the walkthrough and begin the process of burying cable.
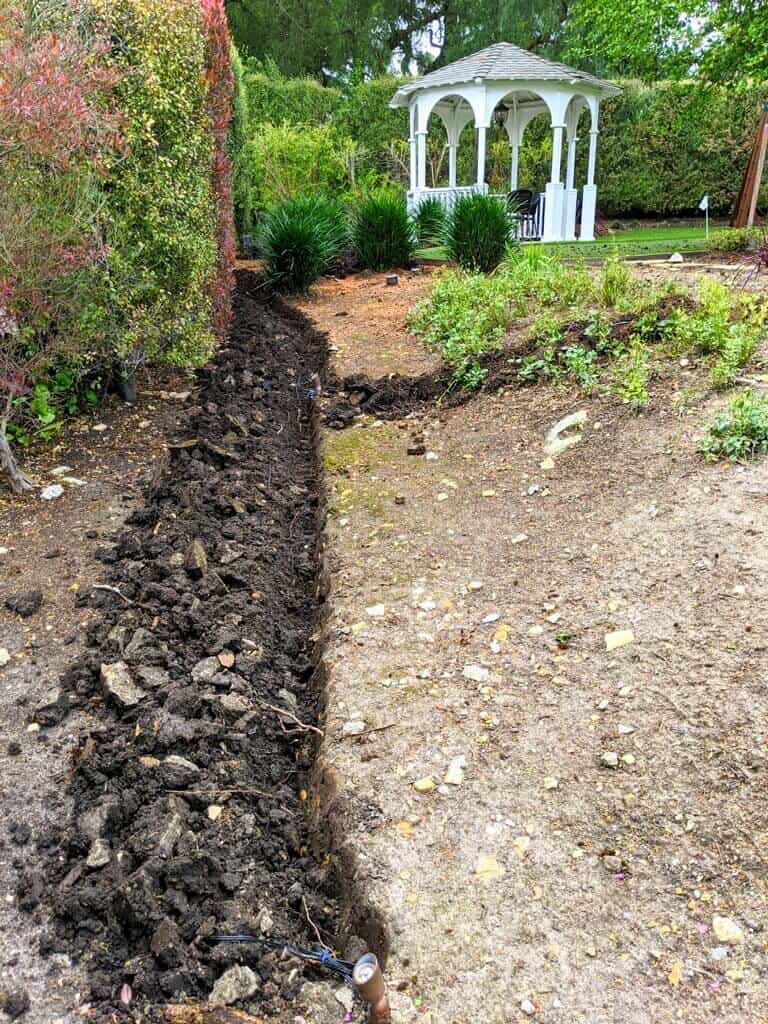
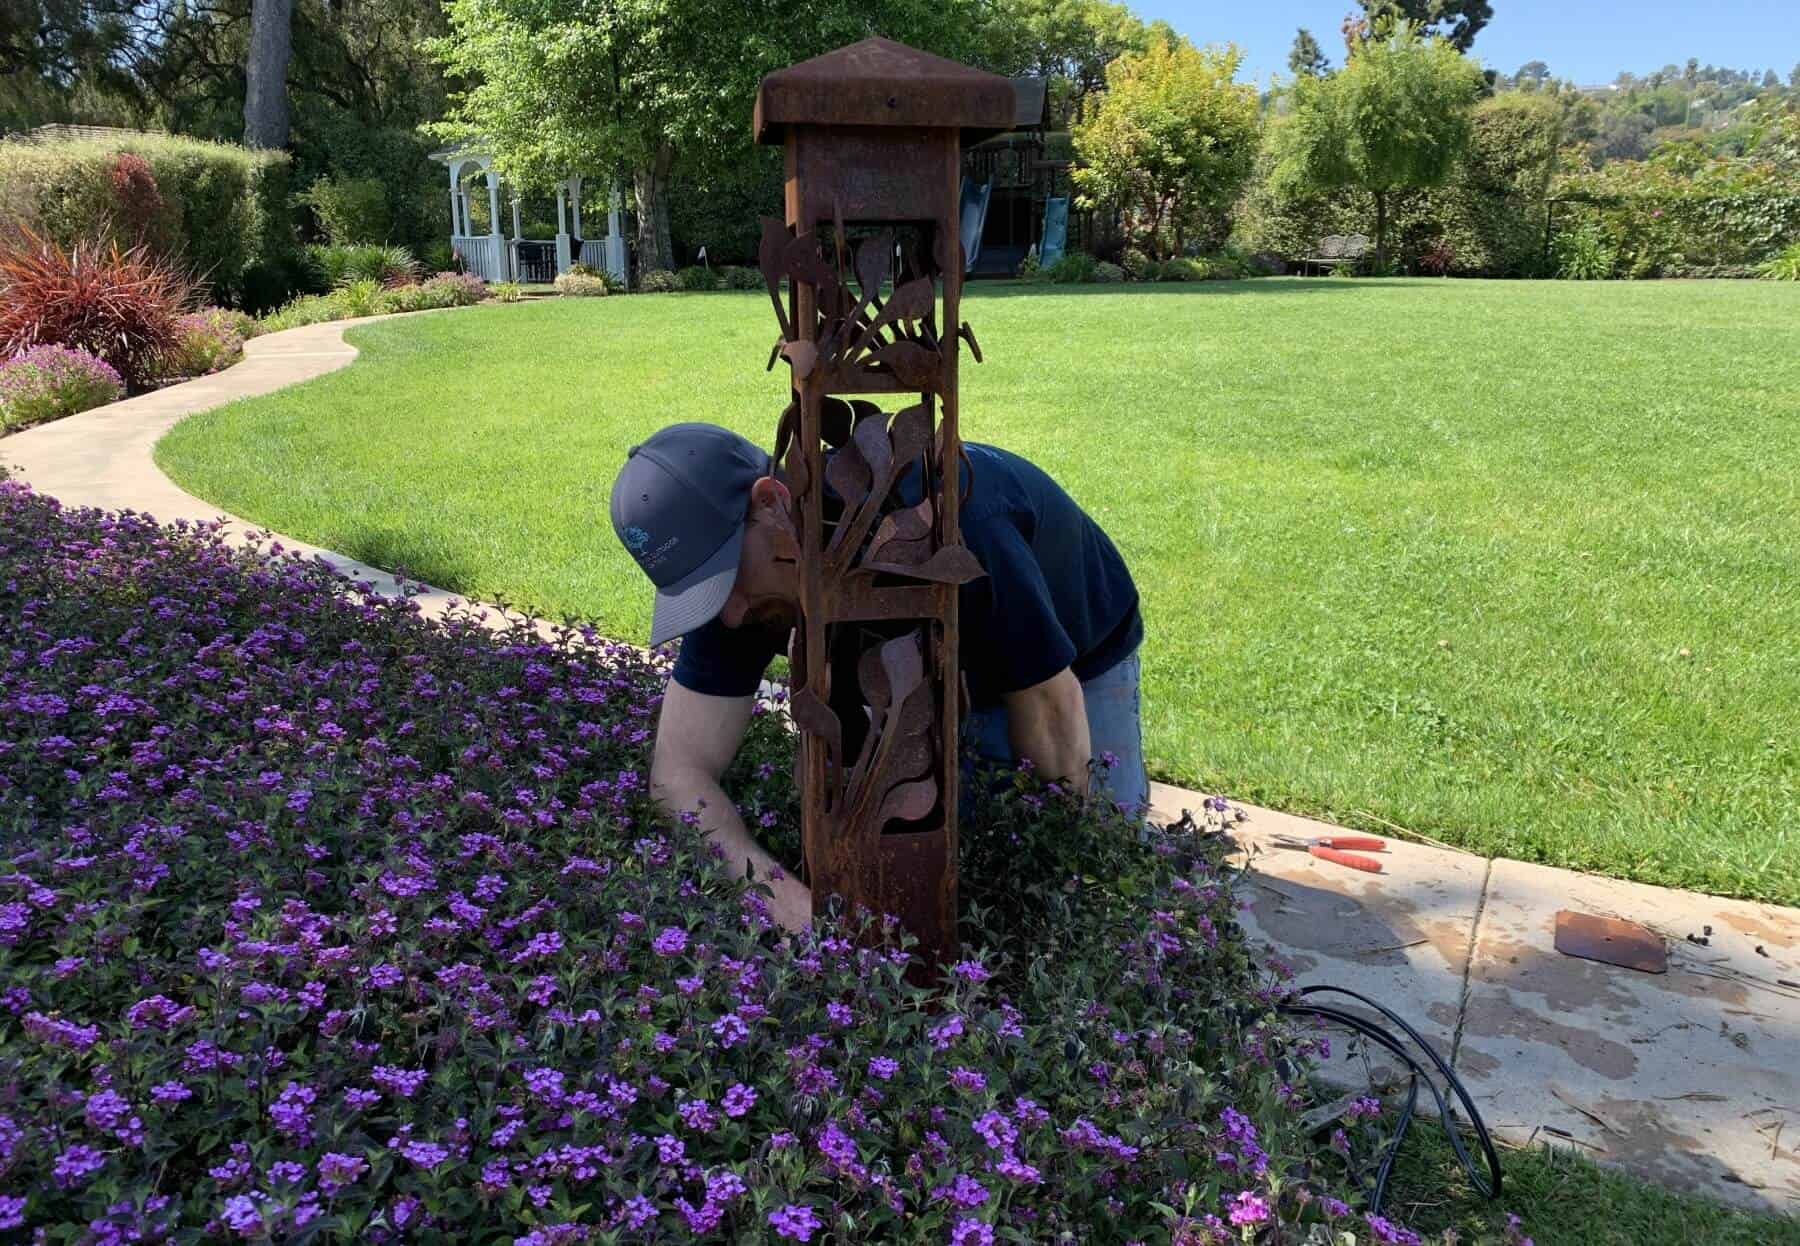
Our trenching is done by hand! Trenching machines can bust pipes and cut communication lines. We take every precaution to leave your landscape in exactly the same condition we found it, with the addition of magnificent lighting that is!
We also want to make sure that we protect your investment from accidental damage. Adding conduit to planter beds prevents damage to wires from planting annuals and setting wire a minimum of 8” deep in sod protects it from yard aeration. These are just some of the steps we take to raise the bar!
Once all cables are buried, a full system electrical test is conducted to ensure the transformer is running optimally. The readings will be recorded in the as-built documentation we put together for you. This will record the details of your system, should you ever need them in the future.
The only thing left to do is, set back, relax and enjoy your new atmosphere!

