
How to Install Low Voltage Deck Lighting
Installing low voltage deck lighting is a great way to improve the look and feel of your deck while also adding some extra safety and security. In this article, we will show you how to install low voltage deck lighting in just a few simple steps.
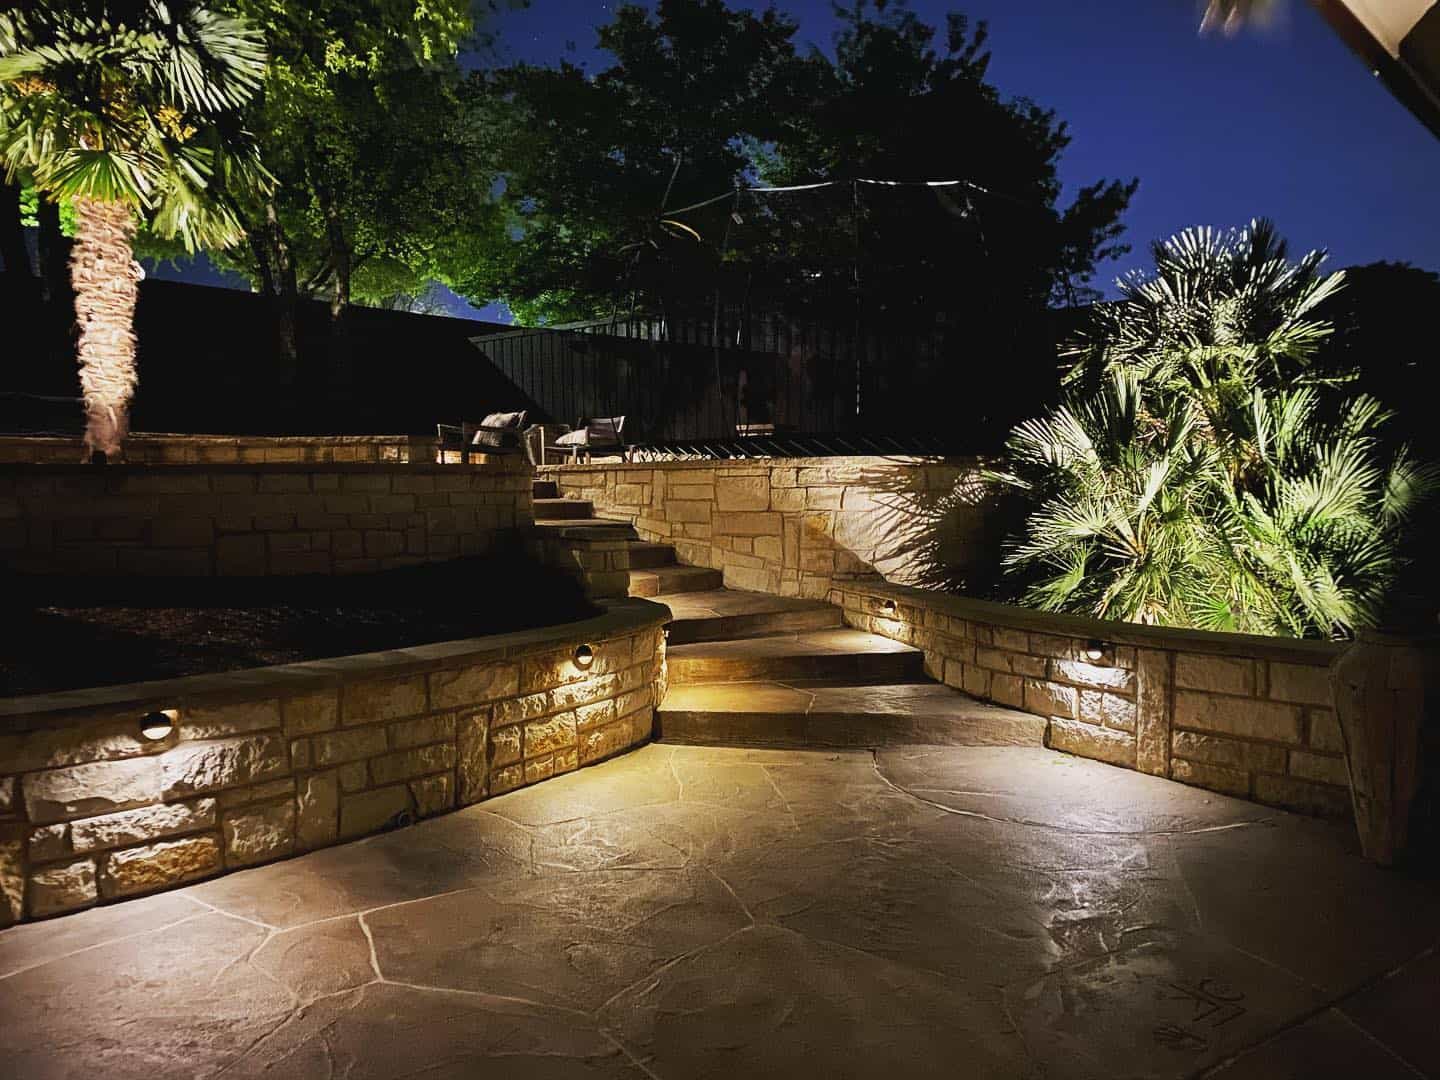
- Select a spot on your deck where you would like to install your lighting. Make sure to choose a spot that is relatively dark and that will not be too close to any areas where people will be walking or sitting. You’ll want to place your lights so that they highlight the features of your deck that you want to show off, and so that they provide enough light for safety and security purposes.
- Install the light fixtures. Most low voltage deck lighting fixtures come with everything you need to install them, including the necessary wiring. Once you have chosen the locations for your lights, it’s time to install the fixtures. If you are using recessed lights, you will need to cut holes in your decking material to accommodate the fixtures. Simply follow the instructions that come with your particular fixture.
- Connect the fixtures to the power source. Low voltage deck lights are typically powered by a transformer that is connected to a standard 110-volt outlet. Once the fixtures are installed, you’ll need to connect them to the transformer.
- Enjoy your new deck lights! Once everything is installed and connected, you can sit back and enjoy your new deck lights. Be sure to test them out before you have guests over so that you can make any necessary adjustments.
Maintenance and troubleshooting for low voltage deck lights
Maintaining and troubleshooting low voltage deck lights is relatively simple. Here are a few tips to help you keep your deck lighting in good condition:
- Inspect all of the wiring regularly and make sure that there are no loose connections or exposed wires.
- Always use caution when working with electricity.
- Make sure that the deck lights are turned off when you are not using them.
- If there is a problem with a light, try turning it off and then back on again. If that doesn’t work, unplug the light and replug it back in. If you still have problems, contact a professional for assistance.
- If one of your lights burns out, simply unscrew it and replace it with a new light bulb.
- Be sure to read the instructions that come with your lights so that you know how to properly care for them.
By following these simple tips, you can keep your low voltage deck lights in good working condition for many years to come.
Low voltage deck lighting is a great way to improve the look of your deck while also providing some extra safety and security. Follow the steps in this article to learn how to install low voltage deck lighting in just a few simple steps. Be sure to inspect the wiring regularly and make sure that the lights are turned off when you’re not using them. If you have any problems with your lights, contact a professional for assistance. Thanks for reading!

https://www.google.com/maps?cid=12375183726566343097